

Apple macOS Tips & Tricks
Introduction
Just a few obscure tips and tricks with macOS that I've encountered which annoyed me (Apple gives you the functionality deep inside the hood to adjust everything, it's just poorly documented).
This was all tested with macOS Sequoia 15.4, Tahoe 26.0.1, some of it could be subject to change as Apple makes more dramatic changes.
Removing macOS' Caps Lock Software Delay
For some reason in later versions of macOS (does not affect obsolete versions) Apple decided to add a software delay before it engages Caps Lock (which means you can tap it really quickly and nothing will happen), I can only assume maybe to assist people who sometimes always hit it, accidentally?
There is a fix that you can run in the macOS terminal to turn this off, however, it has to be manually run each time from the terminal unless you set up a launch agent.
In the terminal, first create the directory:
mkdir -p ~/Library/LaunchAgents/
Then create a new launch agents plist file:
nano ~/Library/LaunchAgents/com.user.capslockdelay.plist
Add this into the file:
<?xml version="1.0" encoding="UTF-8"?>
<!DOCTYPE plist PUBLIC "-//Apple//DTD PLIST 1.0//EN" "http://www.apple.com/DTDs/PropertyList-1.0.dtd">
<plist version="1.0">
<dict>
<key>Label</key>
<string>com.user.capslockdelay</string>
<key>ProgramArguments</key>
<array>
<string>/usr/bin/hidutil</string>
<string>property</string>
<string>--set</string>
<string>{"CapsLockDelayOverride":0}</string>
</array>
<key>RunAtLoad</key>
<true/>
</dict>
</plist>
Press Control + X to exit and then choose save when doing so.
Run the following again in the terminal to engage the Launch Agent:
launchctl load ~/Library/LaunchAgents/com.user.capslockdelay.plist
To prevent it from automatically loading (in the event you don't want this anymore), run this:
launchctl unload ~/Library/LaunchAgents/com.user.capslockdelay.plist
You could also disable this from "Login Items & Extensions" when it creates an instance for hidutil. This may be subject to change as macOS changes over time.
If for some reason you just want to run it once in the terminal without a launch agent, it would be:
hidutil property --set '{"CapsLockDelayOverride":0}'
Disabling the 'Caps Lock' Indicator Popup
In Sonoma and beyond (as of 2025), Apple added a nice silly little distracting popup for whenever you engage Caps Lock, even worse it seems to affect the cursor with selecting things and not just Caps Lock -- which is why Apple calls it the "redesigned text cursor". To disable it you will need to run both of these commands in the terminal and then reboot:
sudo mkdir -p /Library/Preferences/FeatureFlags/Domain
sudo /usr/libexec/PlistBuddy -c "Add 'redesigned_text_cursor:Enabled' bool false" /Library/Preferences/FeatureFlags/Domain/UIKit.plist
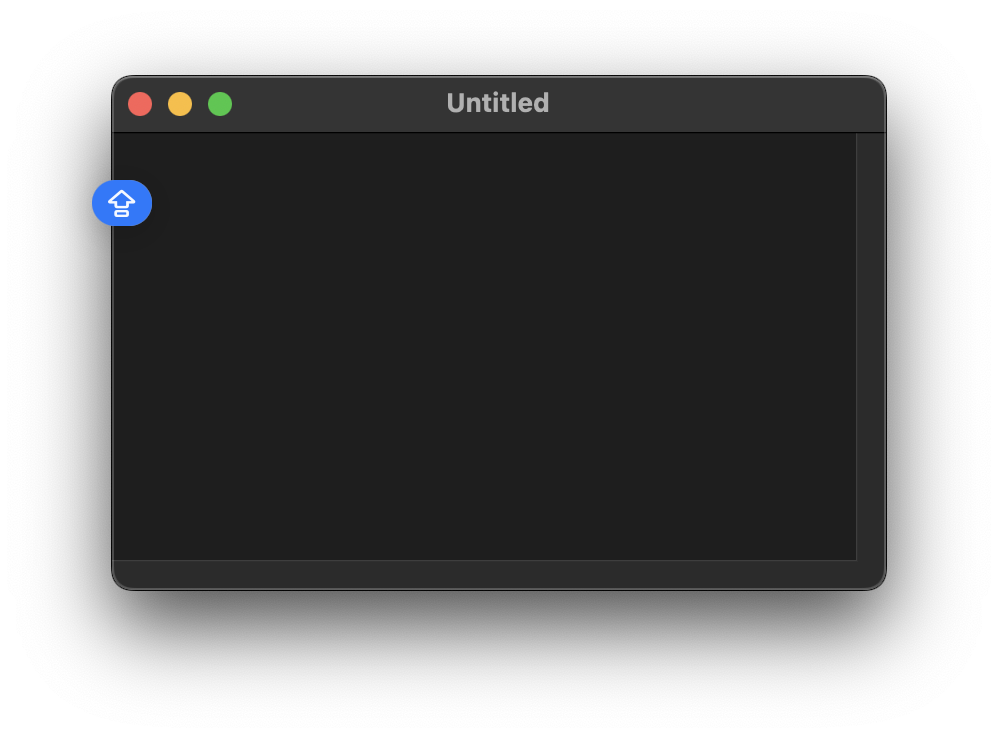
Once you reboot, you won't see the little icon anymore:
Swapping Command and Control
Since I'm more used to the "PC" Ctrl as actually being Control (they're swapped on macOS), you'll need to remap them. This can be done if you go to: Keyboard, Keyboard Shortcuts, Modifier Keys. You can then swap Control and Command.

Be advised that some applications like Microsoft's RDP try to 'outsmart' this and end up already swapping these for you (resulting in us inverting them back to how it shouldn't be), so control then behaves as winkey -- but the winkey does still function as Ctrl oddly enough. I tried PowerToys to reverse it back in the local Windows session but it looks like it can't actually handle it (and Microsoft of course offers no way to disable this key reversal in the macOS RDP client because they think they're more clever than you!). My suggestion would simply be to disable the winkey's functionality of pulling up the menu on your PC, you may have been able to do so by running this .REG (open notepad, paste the following in, 'save as' as blahblah.reg, ensure 'all files' is selected so it doesn't save it as blahblah.reg.txt:
Windows Registry Editor Version 5.00
[HKEY_LOCAL_MACHINE\SYSTEM\CurrentControlSet\Control\Keyboard Layout]
"Scancode Map"=hex:00,00,00,00,00,00,00,00,02,00,00,00,5b,e0,00,00,00,00
However in recent versions of Windows 11 I tried, it had no effect. So it's likely Microsoft now disabled this, too. In theory you might be able to use AutoHotKey -- but it may break its functionality with Ctrl. There's no winning with Microsoft these days.
Quick Note 'hot corner'
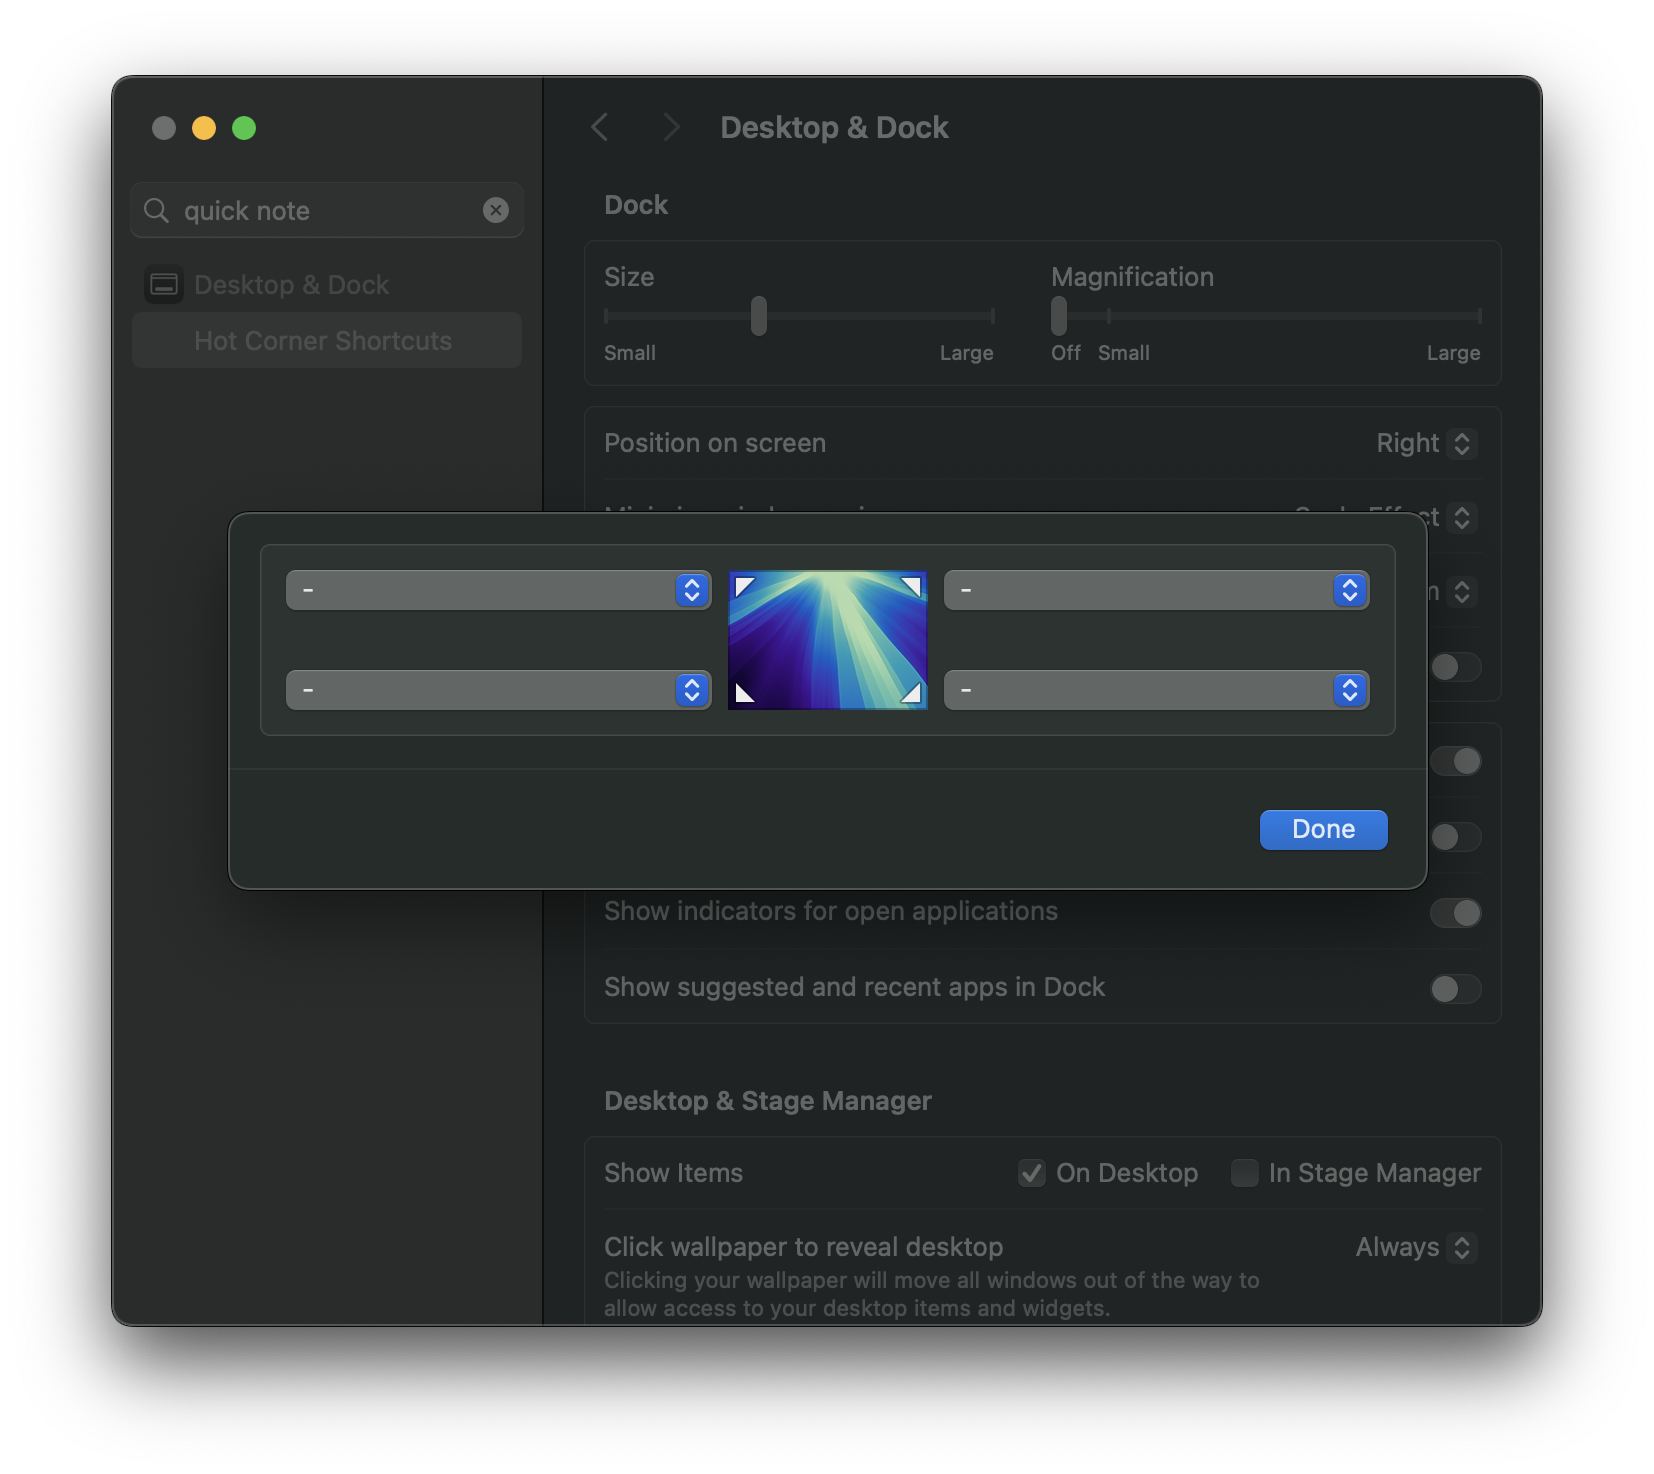
With Sonoma there was another genius at Apple who thought it would be good to add one of the corners to open the annoying Apple Notes (as if anyone would ever want moving your cursor somewhere to open an application rather than just searching for it). To turn it off you'll have to go into Desktop & Dock, then Hot Corner Shortcuts, then make sure it's set to the null hyphen.
Oddly enough, Windows 8 had a similar thing via the 'charms', except in the one corner they couldn't be disabled period without 3rd party software. No idea why Apple decided to steal one of the worst things about Windows 8.
Making the (Magic) Mouse Normal
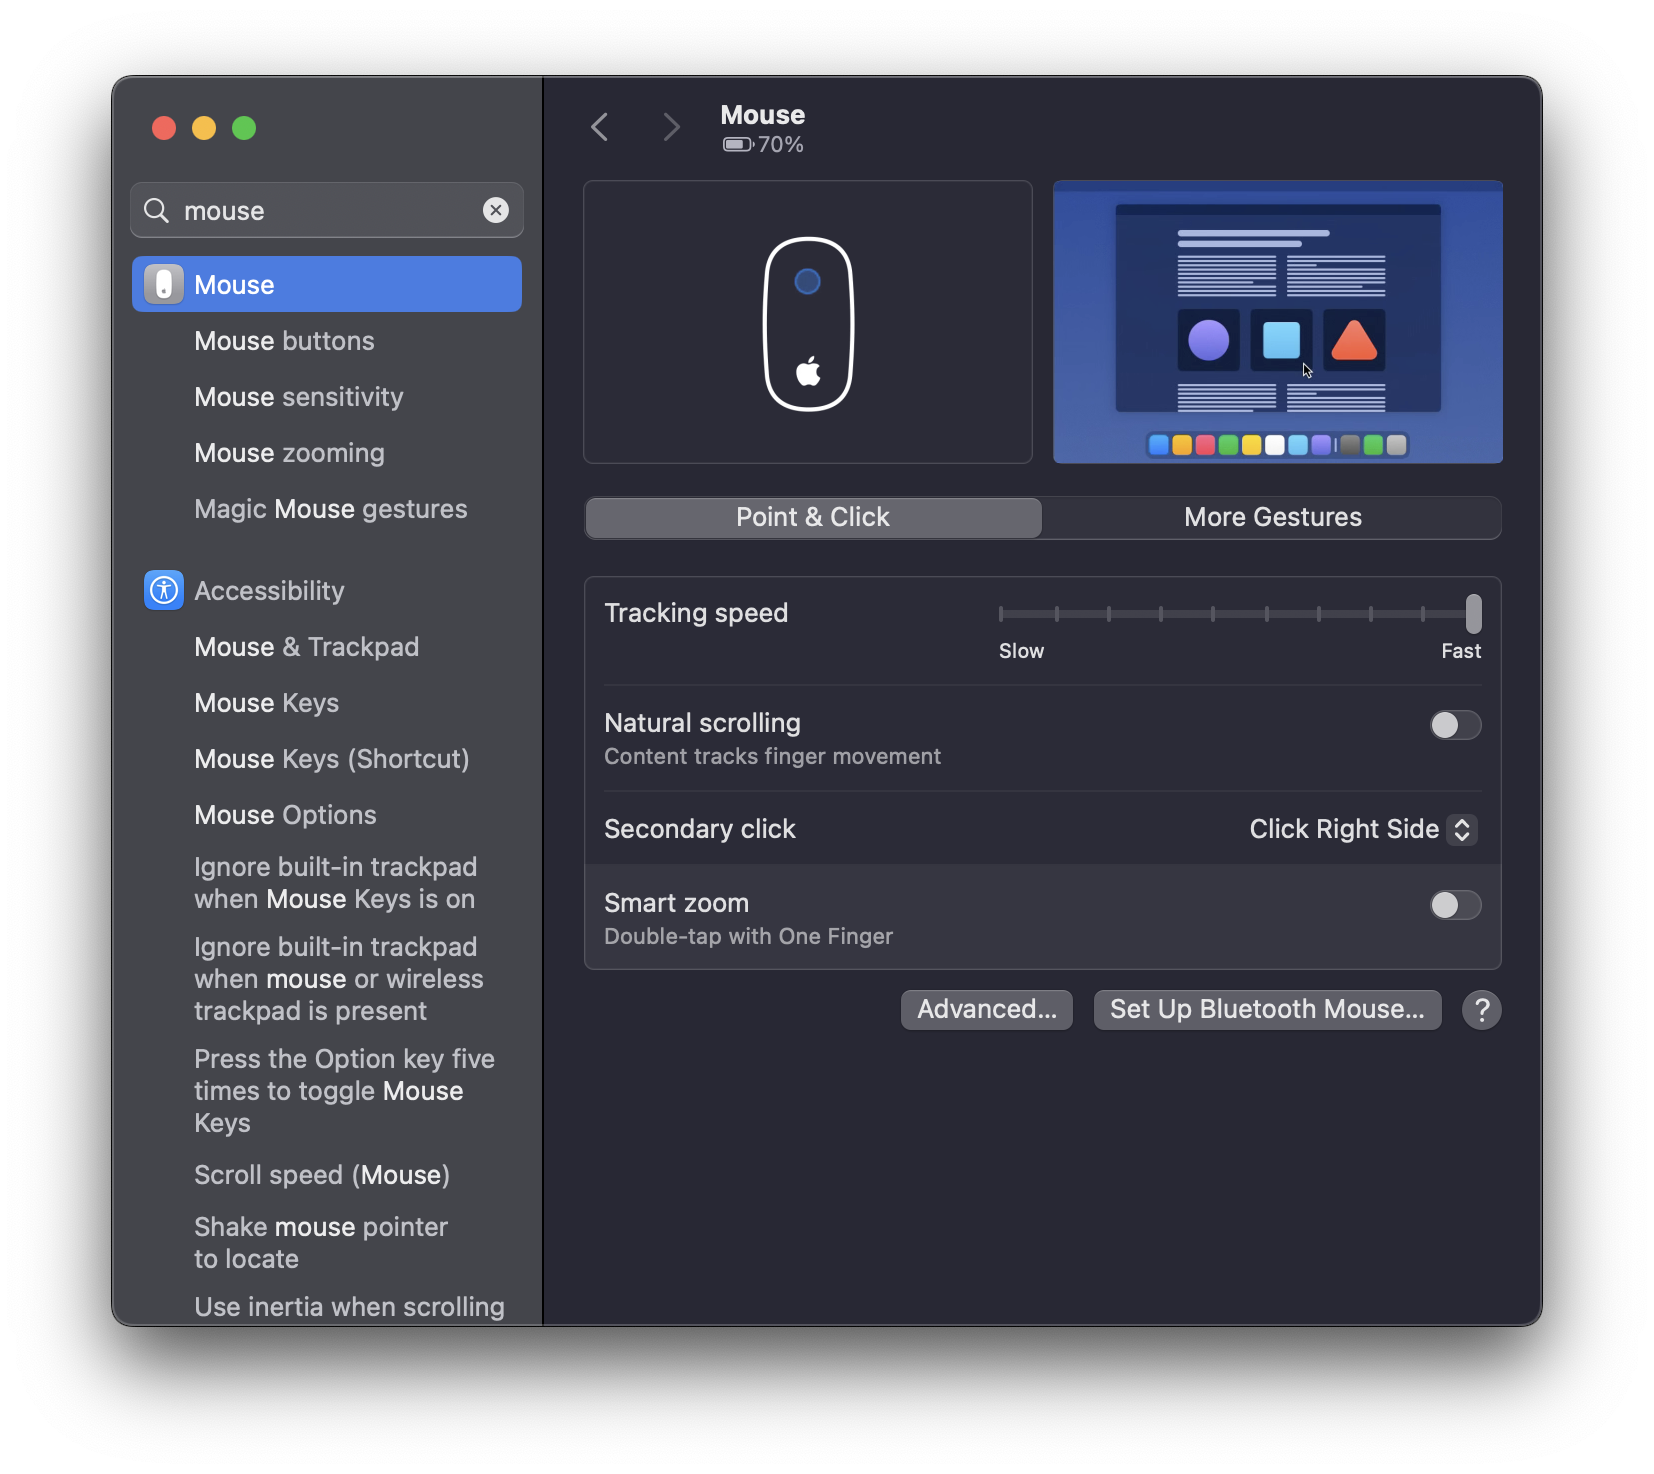
The default mouse settings in most macOS releases were baffling, and it was only until recently that they added true functionality for a 'real' right click without 3rd party solutions and drivers (which, most applications never even worked with anyways because it was just a custom unofficial thing). Anyways... for a normal mouse experience you'll want to go into the Mouse settings and adjust all of the following:
- If you're on a Retina display (which will most likely be always?) set the 'Tracking speed' to max, as the default speed of the Magic Mouse is way too slow.
- Turn of 'Natural scrolling' which simply just inverts up as down and down as up. Not certain why this is becoming more popular (or maybe it isn't and vendors are just enforcing it), it's not really 'natural' (to me) at least.
- Set Secondary click to 'Click Right Side'
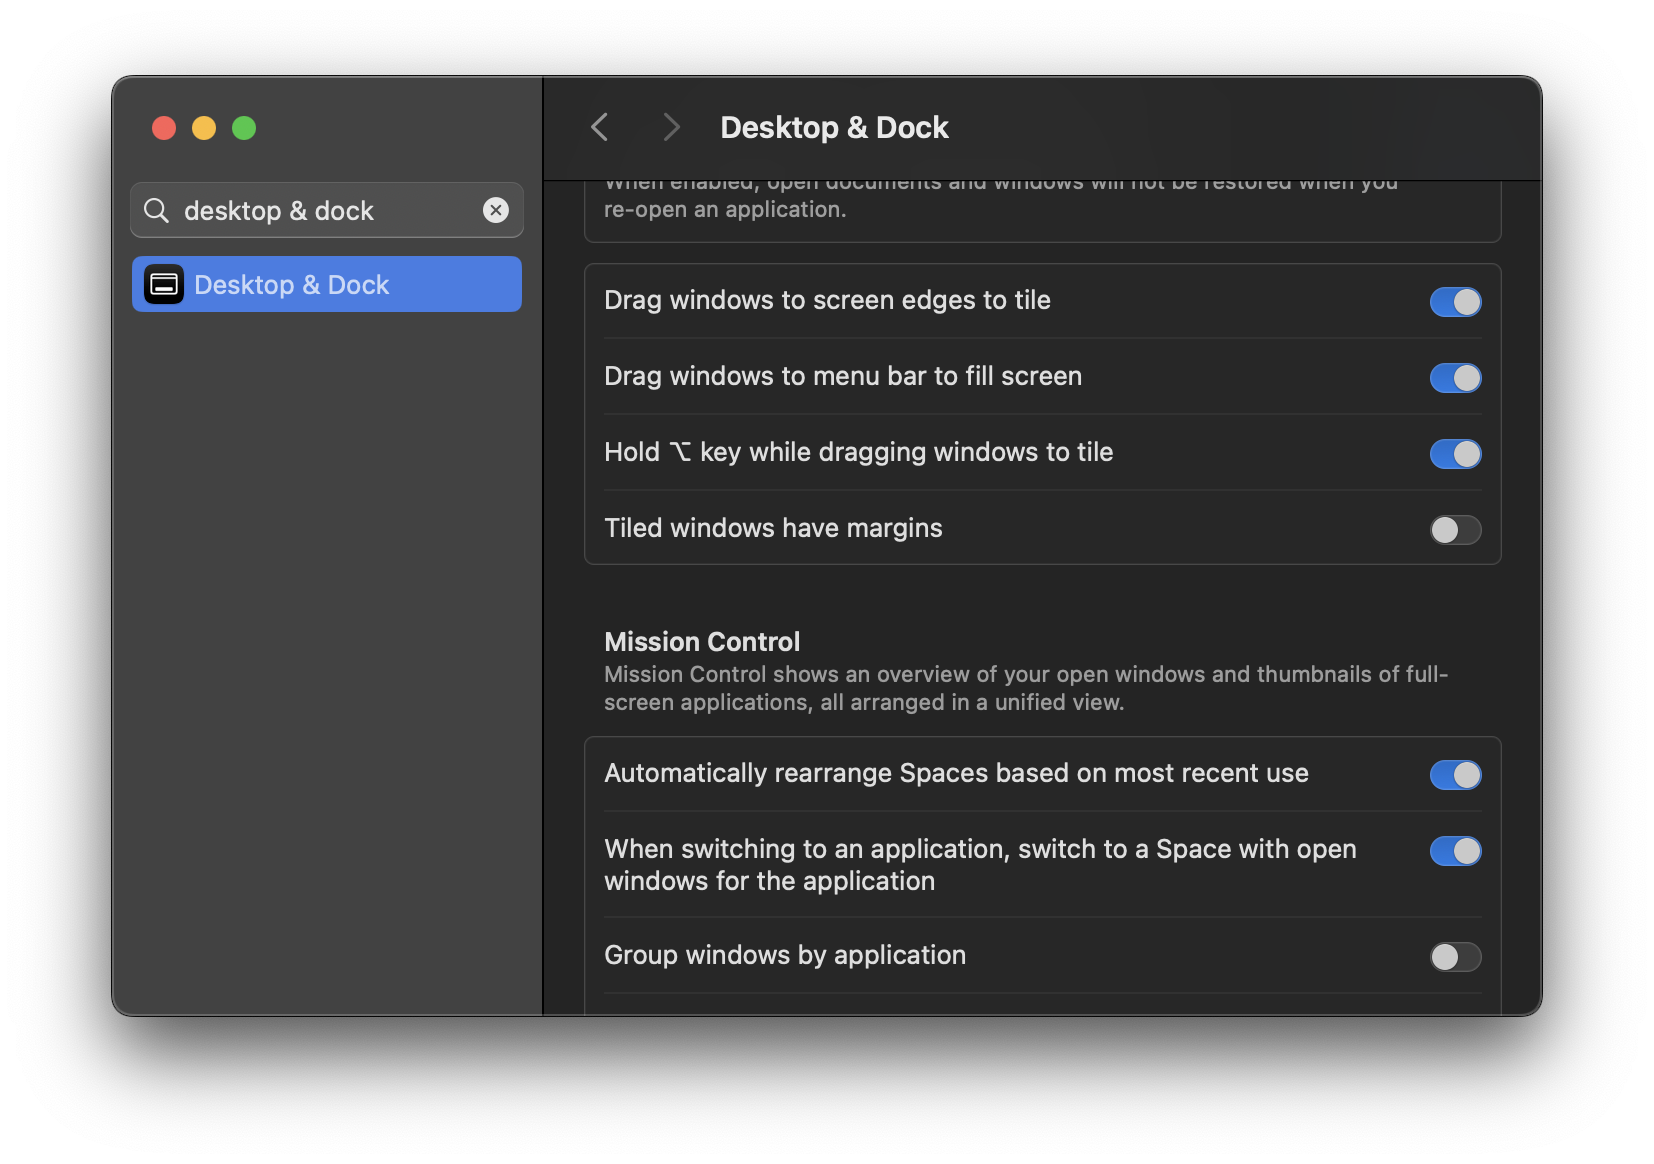
Removing Margins in Window Snapping
Prior to native window snapping support I used Rectangle, but I generally don't bother anymore. What's annoying however is how by default macOS is configured to add margins between the window snapping for some inexplicable reason. To disable it you'll need to go to Desktop & Dock and turned off "Tiled windows have margins". One advantage of Rectangle is that it can snap windows much faster and it has more customization, so, not a total write-off.
Location Services ONLY For Night Shift
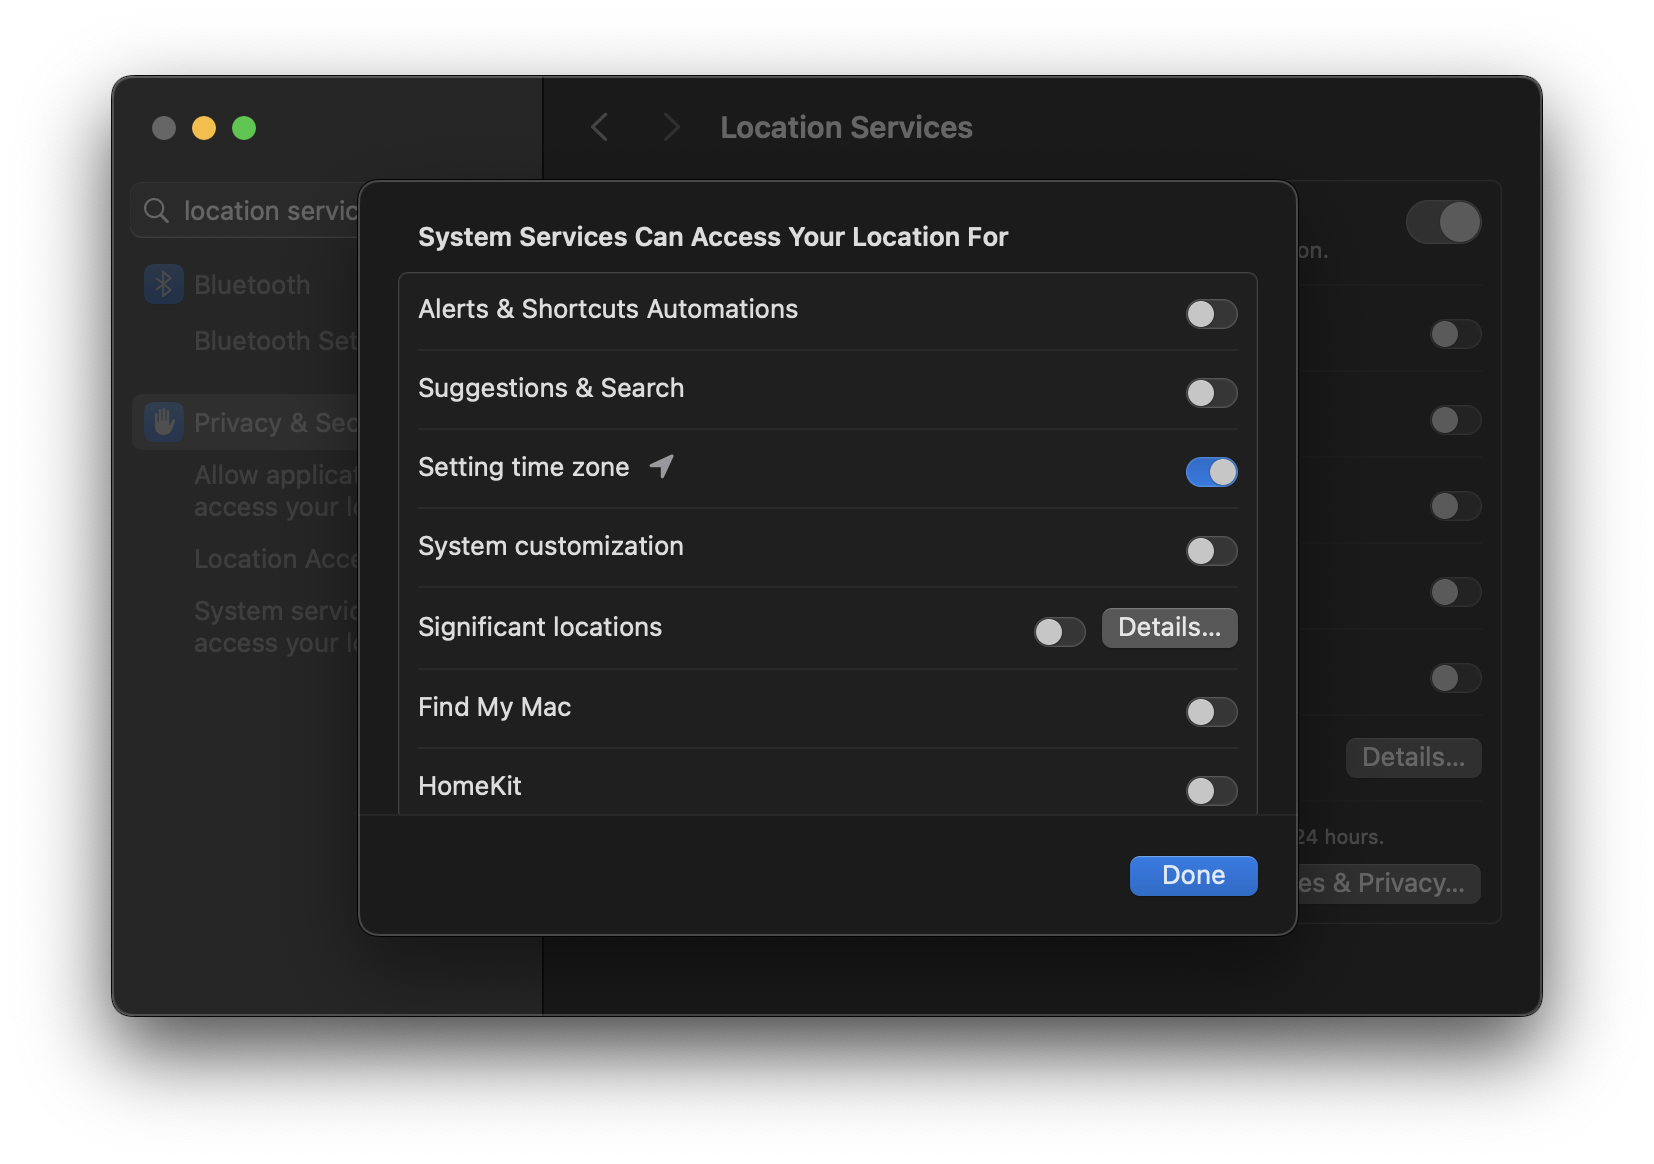
In order to enable Night Shift to synchronize with your time zone you'll need Location Services partially enabled; but if you're privacy conscious and you don't want all of it enabled, you'll need to selectively contour it.
Go to: Privacy & Security, then Location Services, then 'Details...' under System Services, and ONLY enable 'Setting time zone.'
If you've found any of these helpful, feel free to copy the material and screenshots: share it around to others for free.